A check-in is a structured snapshot of how your team is doing on its OKRs for a chosen date. The check-in editor walks you through an Overview, each key result, and a Complete summary. Changes autosave as you work.
Before you start
- The cycle must be published (Active or Archived). Draft cycles show OKRs Not Yet Published on the Check-ins tab instead of the list
- You need create check-in permission for the team (team members can always create check-ins; non-members need Admin or higher)
Starting a new check-in
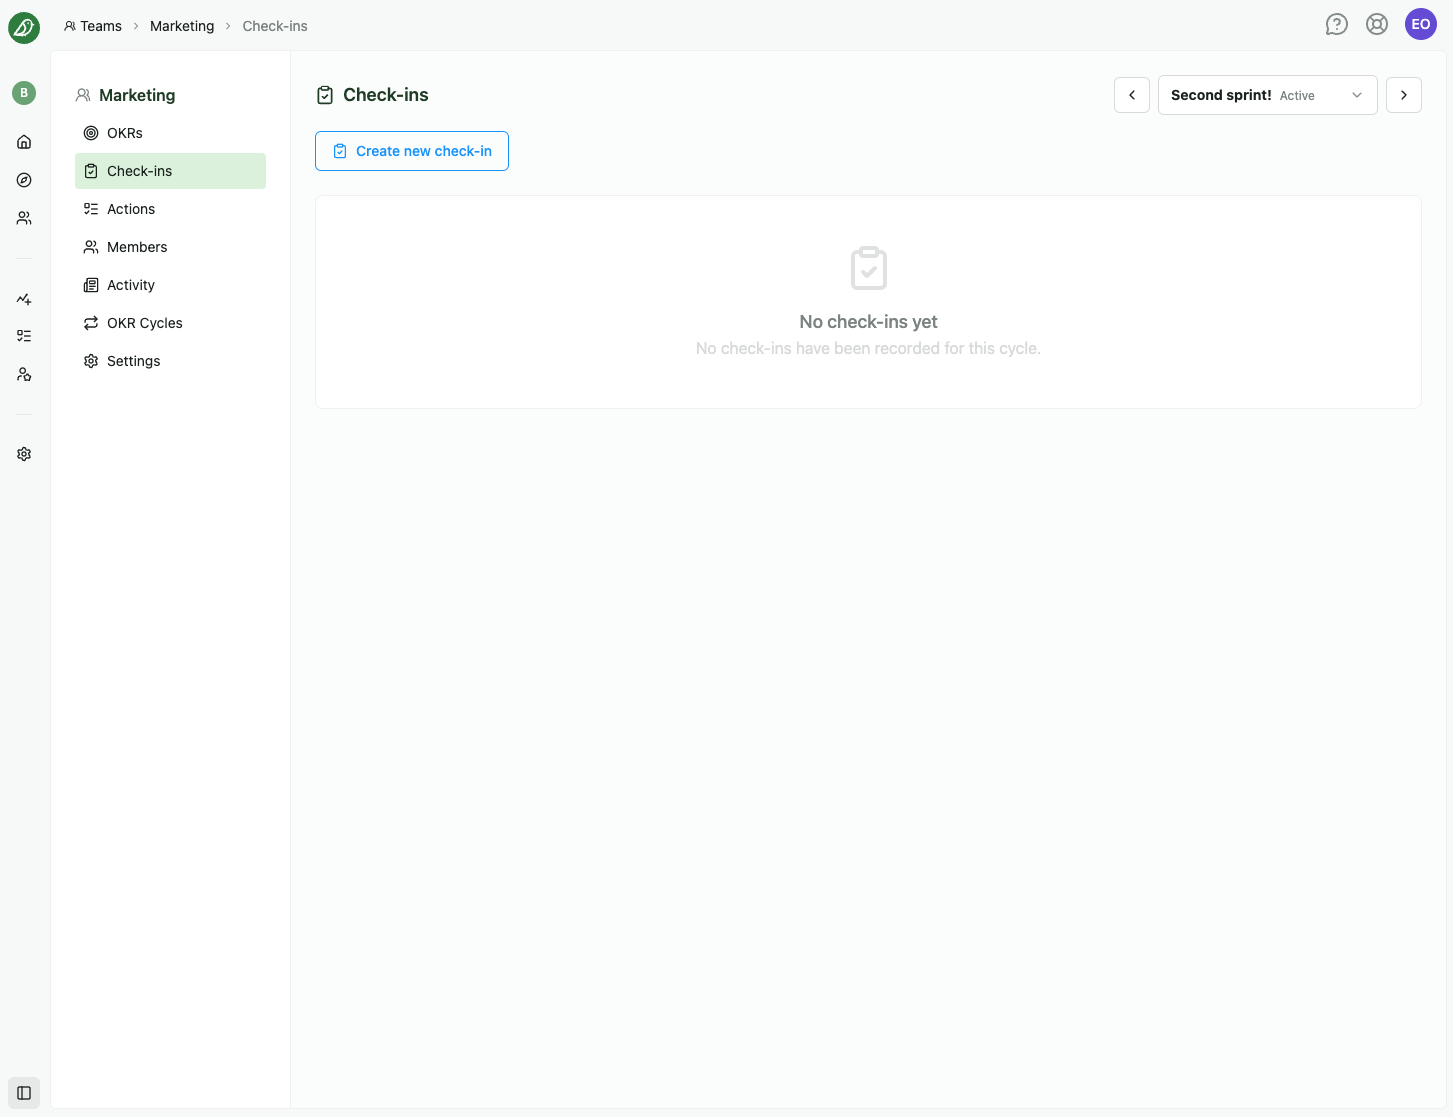
- Navigate to your team's page and open Check-ins in the team sidebar
- Select the correct cycle period in the header if needed
- Click Create new check-in
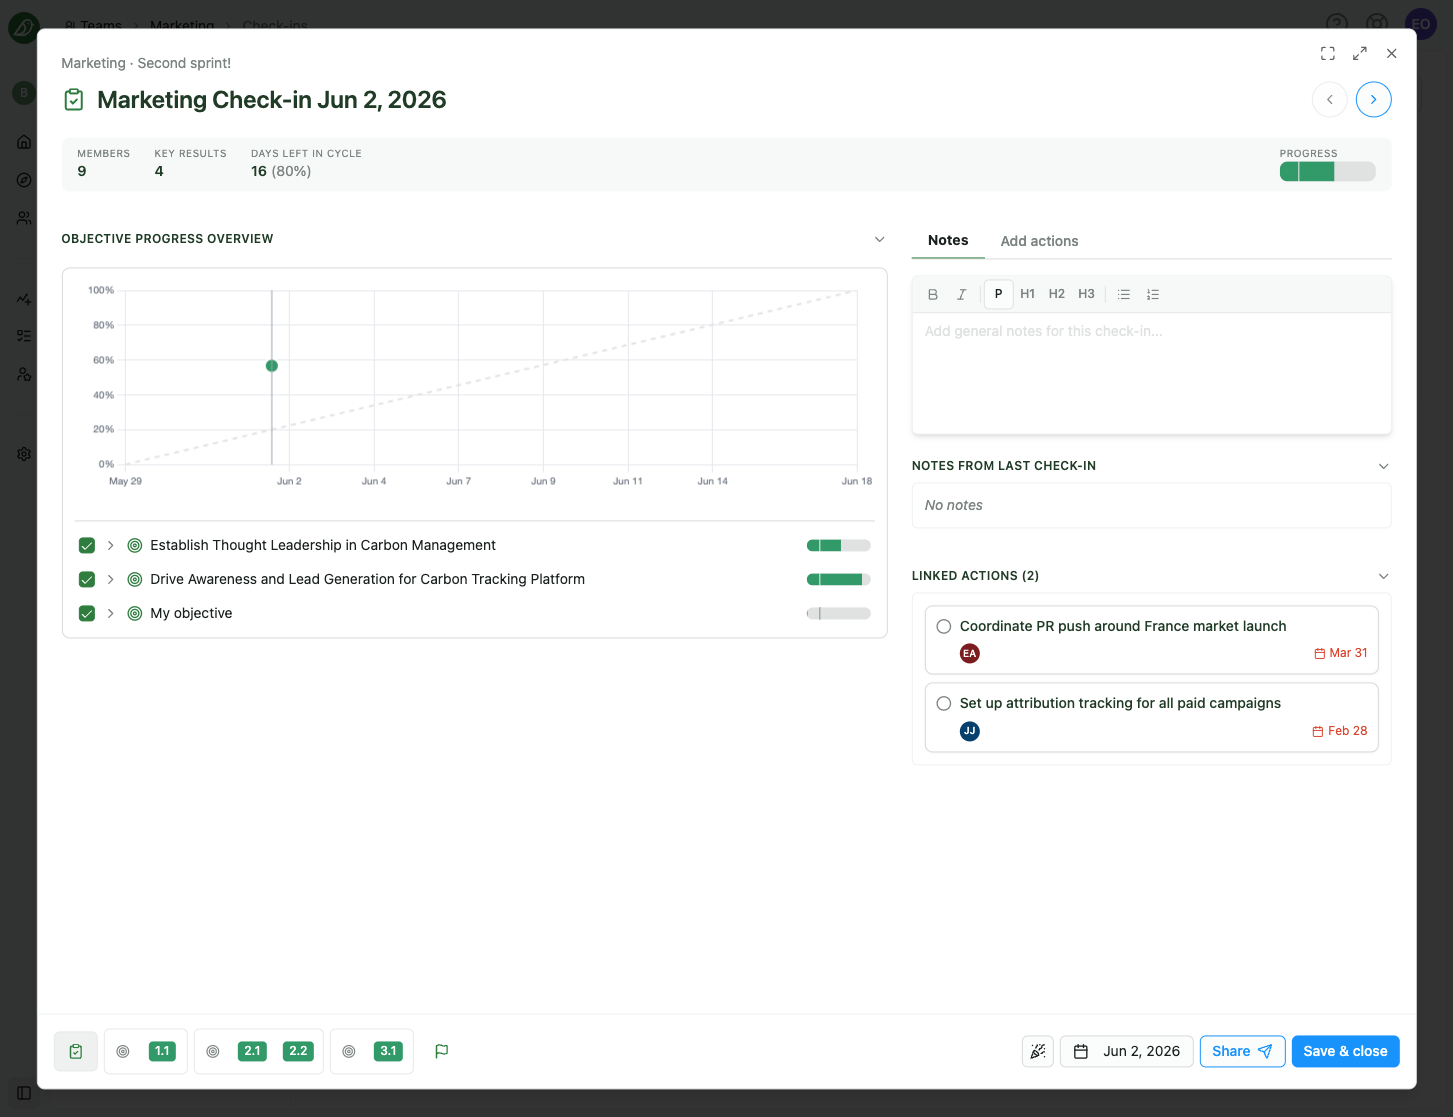
The check-in editor opens as a full-screen modal.
Wizard steps
Use the navigation bar at the bottom (or arrow keys when not typing in a field) to move between steps:
| Step | What you do |
|---|---|
| Overview | See cycle stats (members, key results, days left, progress) and add general notes for the whole check-in |
| Each key result | One stop per KR: add KR-specific notes, update progress, or add actions |
| Complete | Review summary stats (notes count, time left, progress) before closing |
The bottom bar lists every key result grouped under its objective. Click a KR button to jump directly to that step.
Check-in date
Use the date picker in the footer to set which date this check-in represents. It defaults to today but can be adjusted for retrospectives or late entries.
Autosave
Your work saves automatically:
- Changes debounce for a few seconds, then save in the background
- Footer status shows Saving..., then Autosaved briefly, or Save failed if something went wrong
- Save & close saves immediately and closes the editor (toast: Check-in saved)
If you try to close with unsaved changes, you'll see Unsaved changes with options to Cancel or Discard changes.
Leaving the browser tab with unsaved work triggers a standard browser warning.
Updating progress during a check-in
On each key result step, open the Update Progress tab to record a new value, traffic-light status, last day included in the update, and comment. This uses the same fields as the team Update tab. Click Update Key Result to apply the change to that KR.
The traffic-light status field is an optional feature that an organisation admin can turn on or off under Settings > Features (Key result status). When it is off, the status selector is hidden and the status is derived automatically from progress instead.
Sharing from the editor
The footer Share button (tooltip Share check-in) opens the share dialog so you can copy a link or email the team without leaving the wizard. You need email check-in permission to send email.
Completing the check-in
- Walk through all key results you want to document
- Open the Complete step to review the summary
- Click Save & close
The new check-in appears in the monthly list on the Check-in tab. Team members can view, edit (on desktop), share, or delete it from there. See Check-ins Overview for list actions.
Deep links
If someone sends you a check-in URL (/view/check-in/...), opening it loads that check-in directly. You must belong to the organisation and have access to the team.
Tips
- Do Overview first: Capture meeting context in general notes before diving into individual KRs
- Trust autosave: You rarely need Save & close until you're finished, but use it when you want an explicit confirmation
- Use keyboard navigation: Arrow keys move between steps when focus is not inside an input
- Run check-ins on a schedule: Match your team's update cadence (weekly, bi-weekly, etc.) for consistent history